Imagine that you urgently need to update your logo or any other brand elements for an innovative look. Well, in this case, you’ll definitely have to remove your car wraps and replace them with the new and updated design.
If your car wraps aren’t so old, they can be removed easily using some hand tools. Yes, car wraps can be smoothly removed without even vandalizing the original paint. And you can accomplish this task by yourself or consider choosing an expert to go through the below steps for you.
When Should You Remove The Car Wrap?
If your car wrap has been on for over 5 years, it’s probably a nice idea to get it removed to make sure that the original paint is not being damaged. In some circumstances, it is also good to remove this wrap after any damage, like an accident.
Plus, you can also reprint any specific necessary portion, but keep in mind that the colours may not perfectly match due to ageing for the reprinted section/piece.
Step-by-Step Guide to Car Wrap Removal
Want to do this task with great excitement and thrill? Well, just put your headphones on and keenly follow the below steps;
1. Gather Your Supplies and Tools
You will need some basic tools for removing the car wrap from the vehicle. Before starting it, ensure you can use the tools on hand;
- Heat gun
- Gloves, ventilation mask, and goggles
- Plastic holder and razor blades
- Adhesive residue remover
- Cleaning solution
- Paper towels or cloth towels
- Patience (and a lot of it!)
And, with just these simple tools, you will be highly able to loosen & ultimately remove the vinyl wrap and entirely eliminate the remaining adhesive residue.
2. Loosen Wrap with Steam or Heat
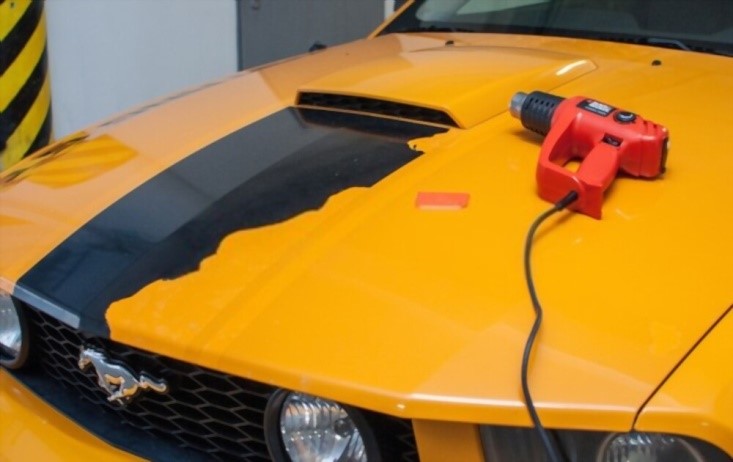
You’ll have to pick up the first section and simply warm up your vinyl with the help of a good heat gun. It will make the vinyl material even more ductile and loosens the sticky underneath. Once the car wrap gets heated, you will be able to move on to the very next step of pulling and lifting.
Plus, you may have to go back and forth between lifting and heating steps to remove every vinyl piece cleanly and effectively.
3. Gently Lift and Pull
Once your wrap is heated sufficiently, you’ll have to lift the edge to start removing it. If you utilized the primer to seal the edges down of every vinyl section, it could be tough to get under distinct edges with the fingernail. Furthermore, you can make use of a good-quality plastic razor blade to peel up the edges gently.
Once you have a specific edge peened back, grab it firmly and lift it to pull these pieces off the vehicle surface gently. Ensure that you preserve the angle of fewer than about 90 degrees in order to keep the material of vinyl from slitting.
4. Clean the Adhesive Effectively
By removing the wrap material of the vehicle, you’ll be left with the adhesive coat on the paint surface. Heating the vinyl thoroughly before you pull it away can assist in reducing the adhesive amount left behind, but it can’t be eliminated completely. You can easily remove this left out layer by simply applying an efficient chemical residue adhesive remover.
Conclusion
The above information is all about how you can remove the vinyl wrap from your car with the help of different types of tools. Still, if you don’t want to do the procedure on your own, simply hire a trusted professional and get your work done with great convenience.
Good luck, folks!

